BLOG

This is the blog of Steve Burkett of Italy, Our Italy

Head On!

“Procession”

Two weeks ago, I brought you “The Gondola”. In that article, you saw a photo that I named “Procession”. Here it is, again.

In this photo, we see two gondole, one following the other, under arched bridges along a small canal of Venice. If you want to see how that photo was created…because yes, it was completely created from several elements, take a quick look here.

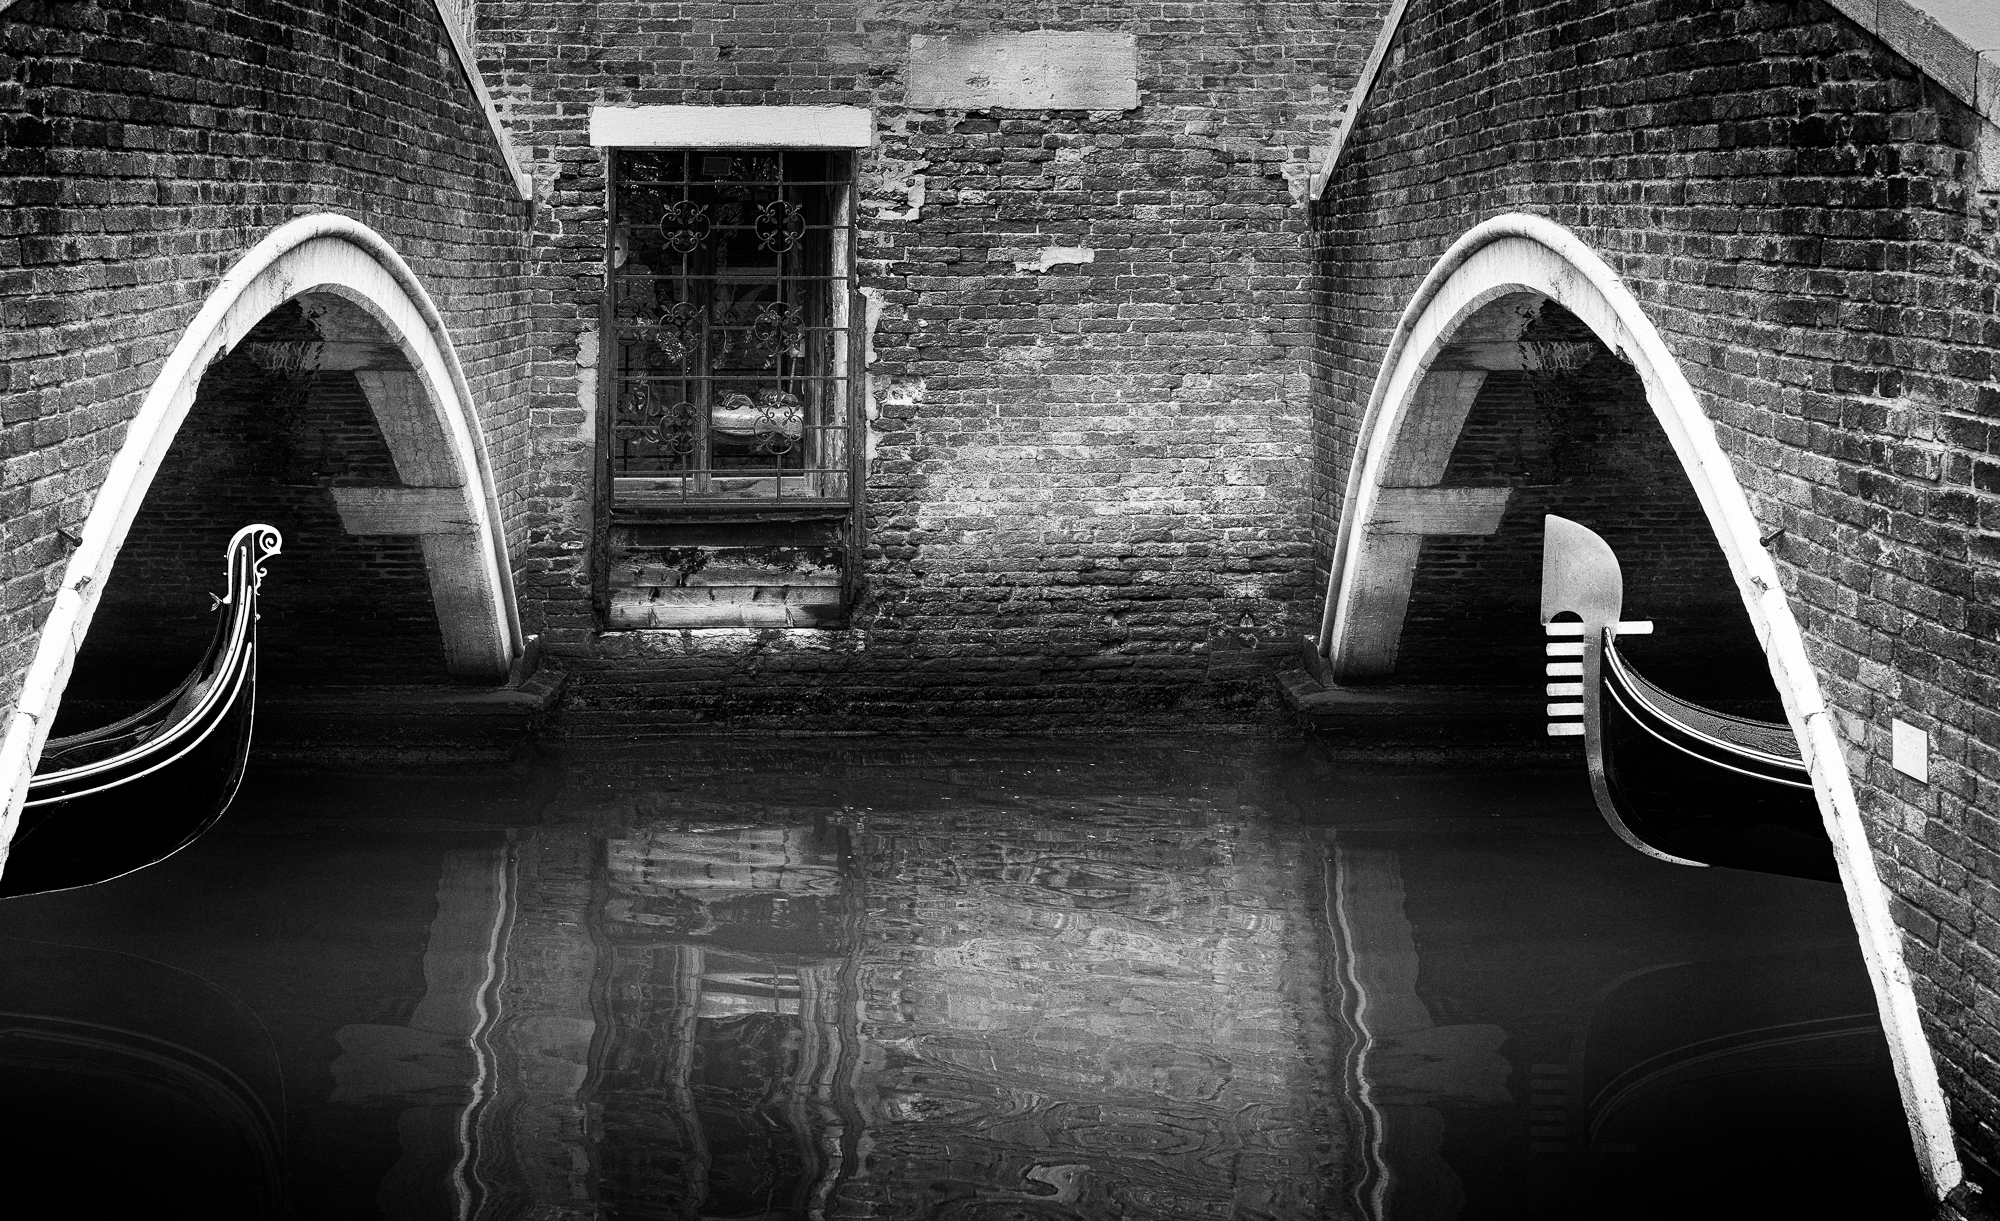
Today, I show you Procession 2, or perhaps more aptly, ‘Head On!”. Again, two gondole floating on a small canal of Venice, but this time they are traveling head on, rather than in a procession, and may collide if the gondoliers are not skilled in their craft.

This photo, like Procession, was the result of manipulation in Photoshop. When the elements of several photos are brought together in one image, it is called a ‘composite’. This composite was the result of planning well before the trip to Venice in 2012. On my shot list was my self-assignment to collect the elements of this photo. So, this was a targeted endeavor, and not some serendipitous or staked-out encounter.

Here’s how it was accomplished.

First, I had to find the right location for Head On!, so as I strolled Venice, I was on the look out for the right setting. The setting shown below caught my eye, and because I didn’t want to get home to find that I may had missed the exact layout that I wanted, I took several photos…film was expensive, but pixels are really cheap!

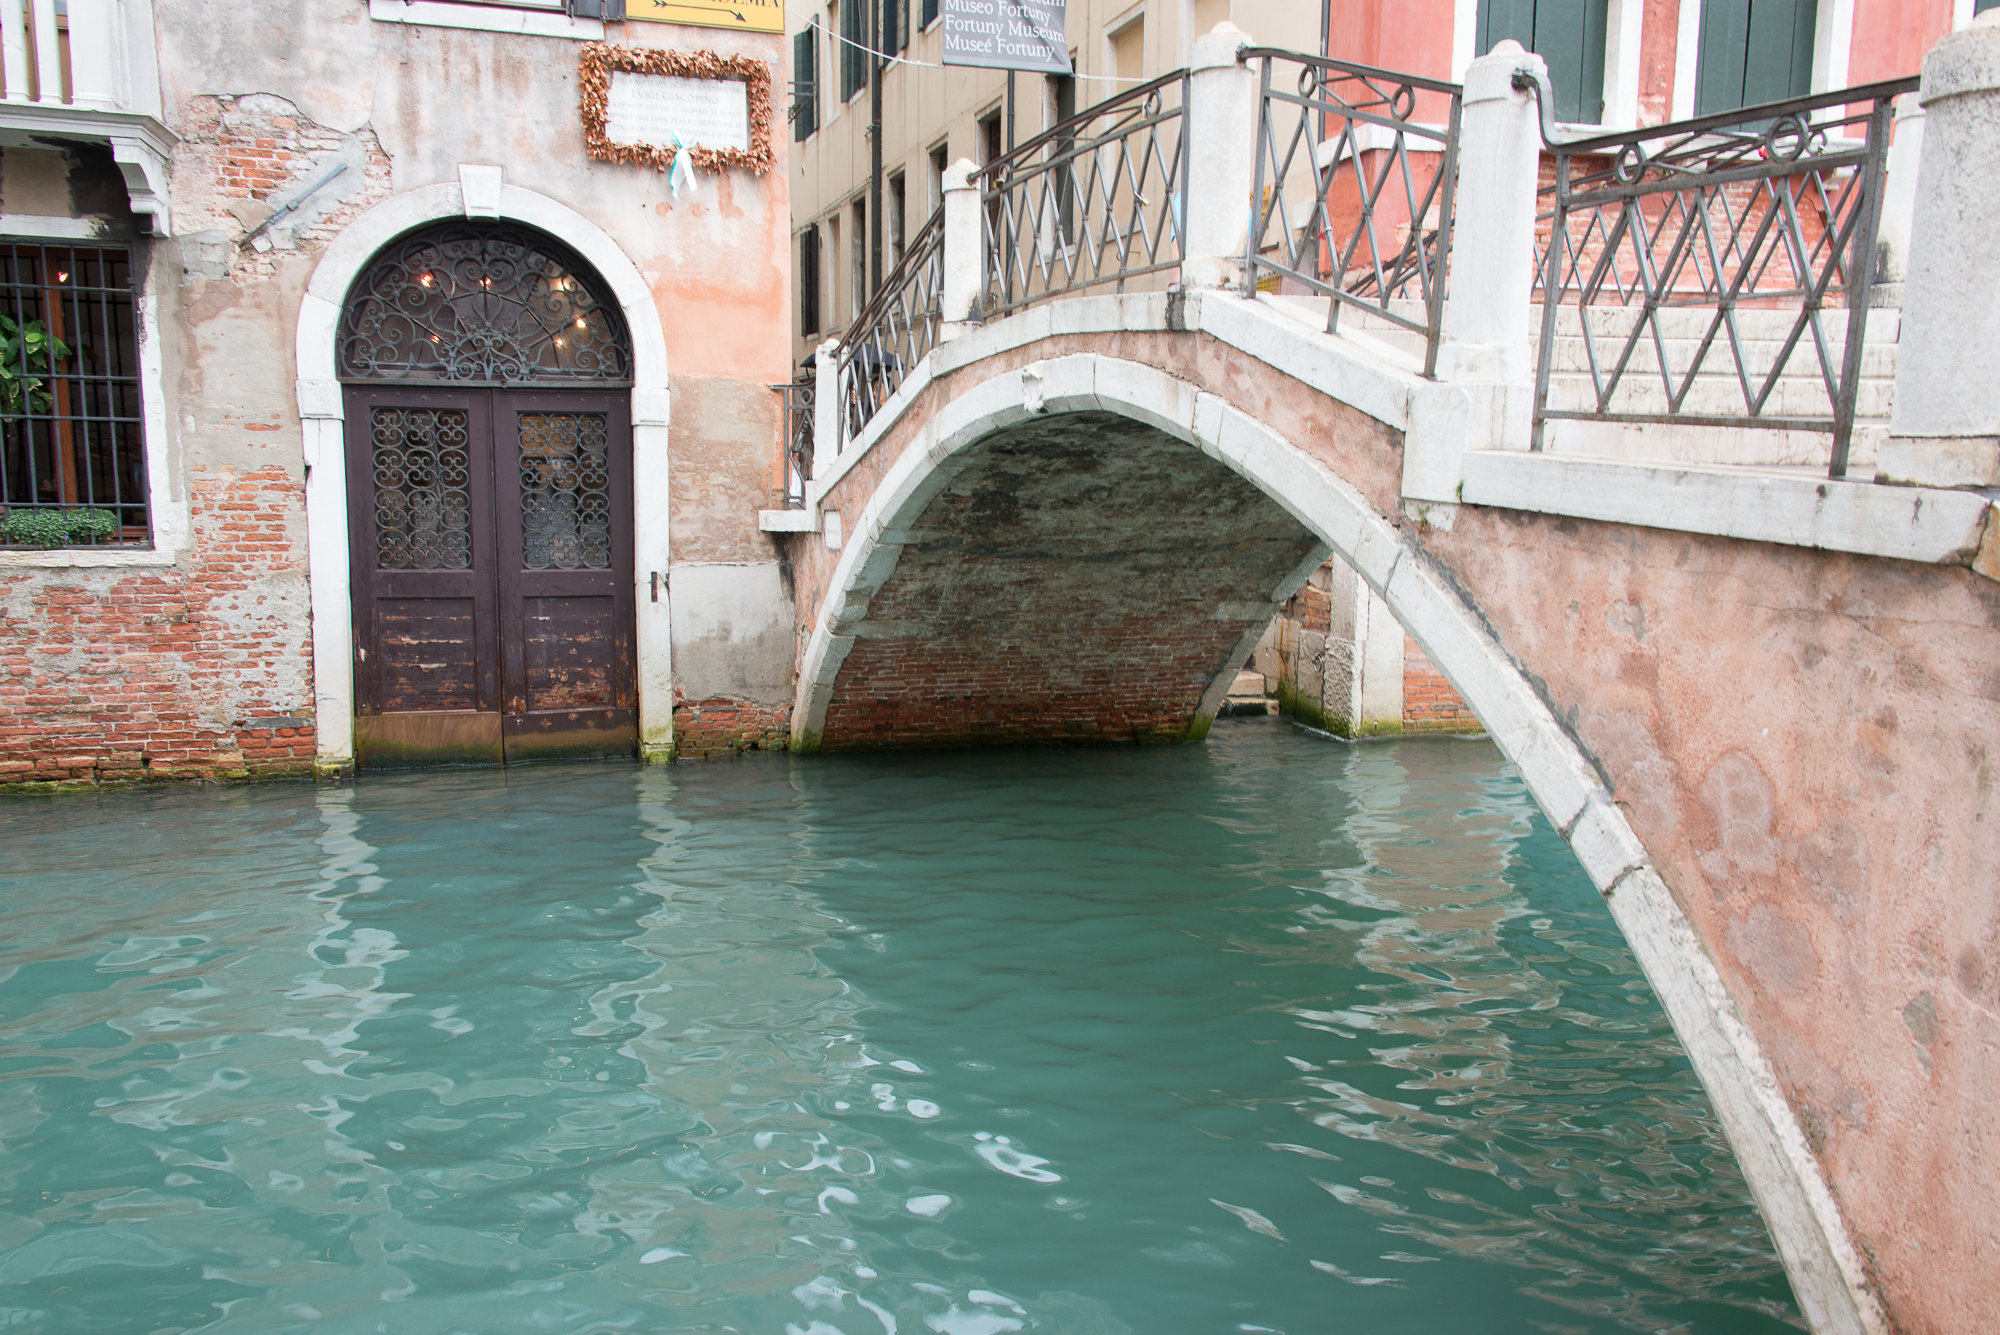
After reviewing the photo collection, I decided on the third one…shown below.

A bit of cropping gave my envisioned composite a base from which to work.

I didn’t want this scene to unfold during broad daylight, so I started by darkening the image a bit.

Now, I’m going to insert the first element into the composite, the gondola approaching from the right. Also, I thought that the arched watergate in the left of the image needed a bit of enhancement, so I emphasized the light within the building.

With any composite, the smallest details are important to make the photo believable…the sun angle, the color, the size, etc. In this case, the gondola needs a reflection in the water. So, that’s what I’ll do next. Subtle? Yes. But, important for believability. Unless you compare the images a few times, you may not even notice the reflection.

Now it’s time to insert the gondola approaching from the left, along with its own reflection…yes, though hard to see, it’s there.

You will note that the gondole are not as head-on as I could have made them…after all, I’m free to choose how they are aligned within the image. I made the left gondola a bit smaller than the one on the right…thus inferring that it is not in the same plane. So, they are less head on than they could be. After all, I don’t want anyone to get hurt on their romantic gondola ride.

What’s left? I’d like to crop the image to eliminate the excess water at the bottom…it’s just water and not very interesting.

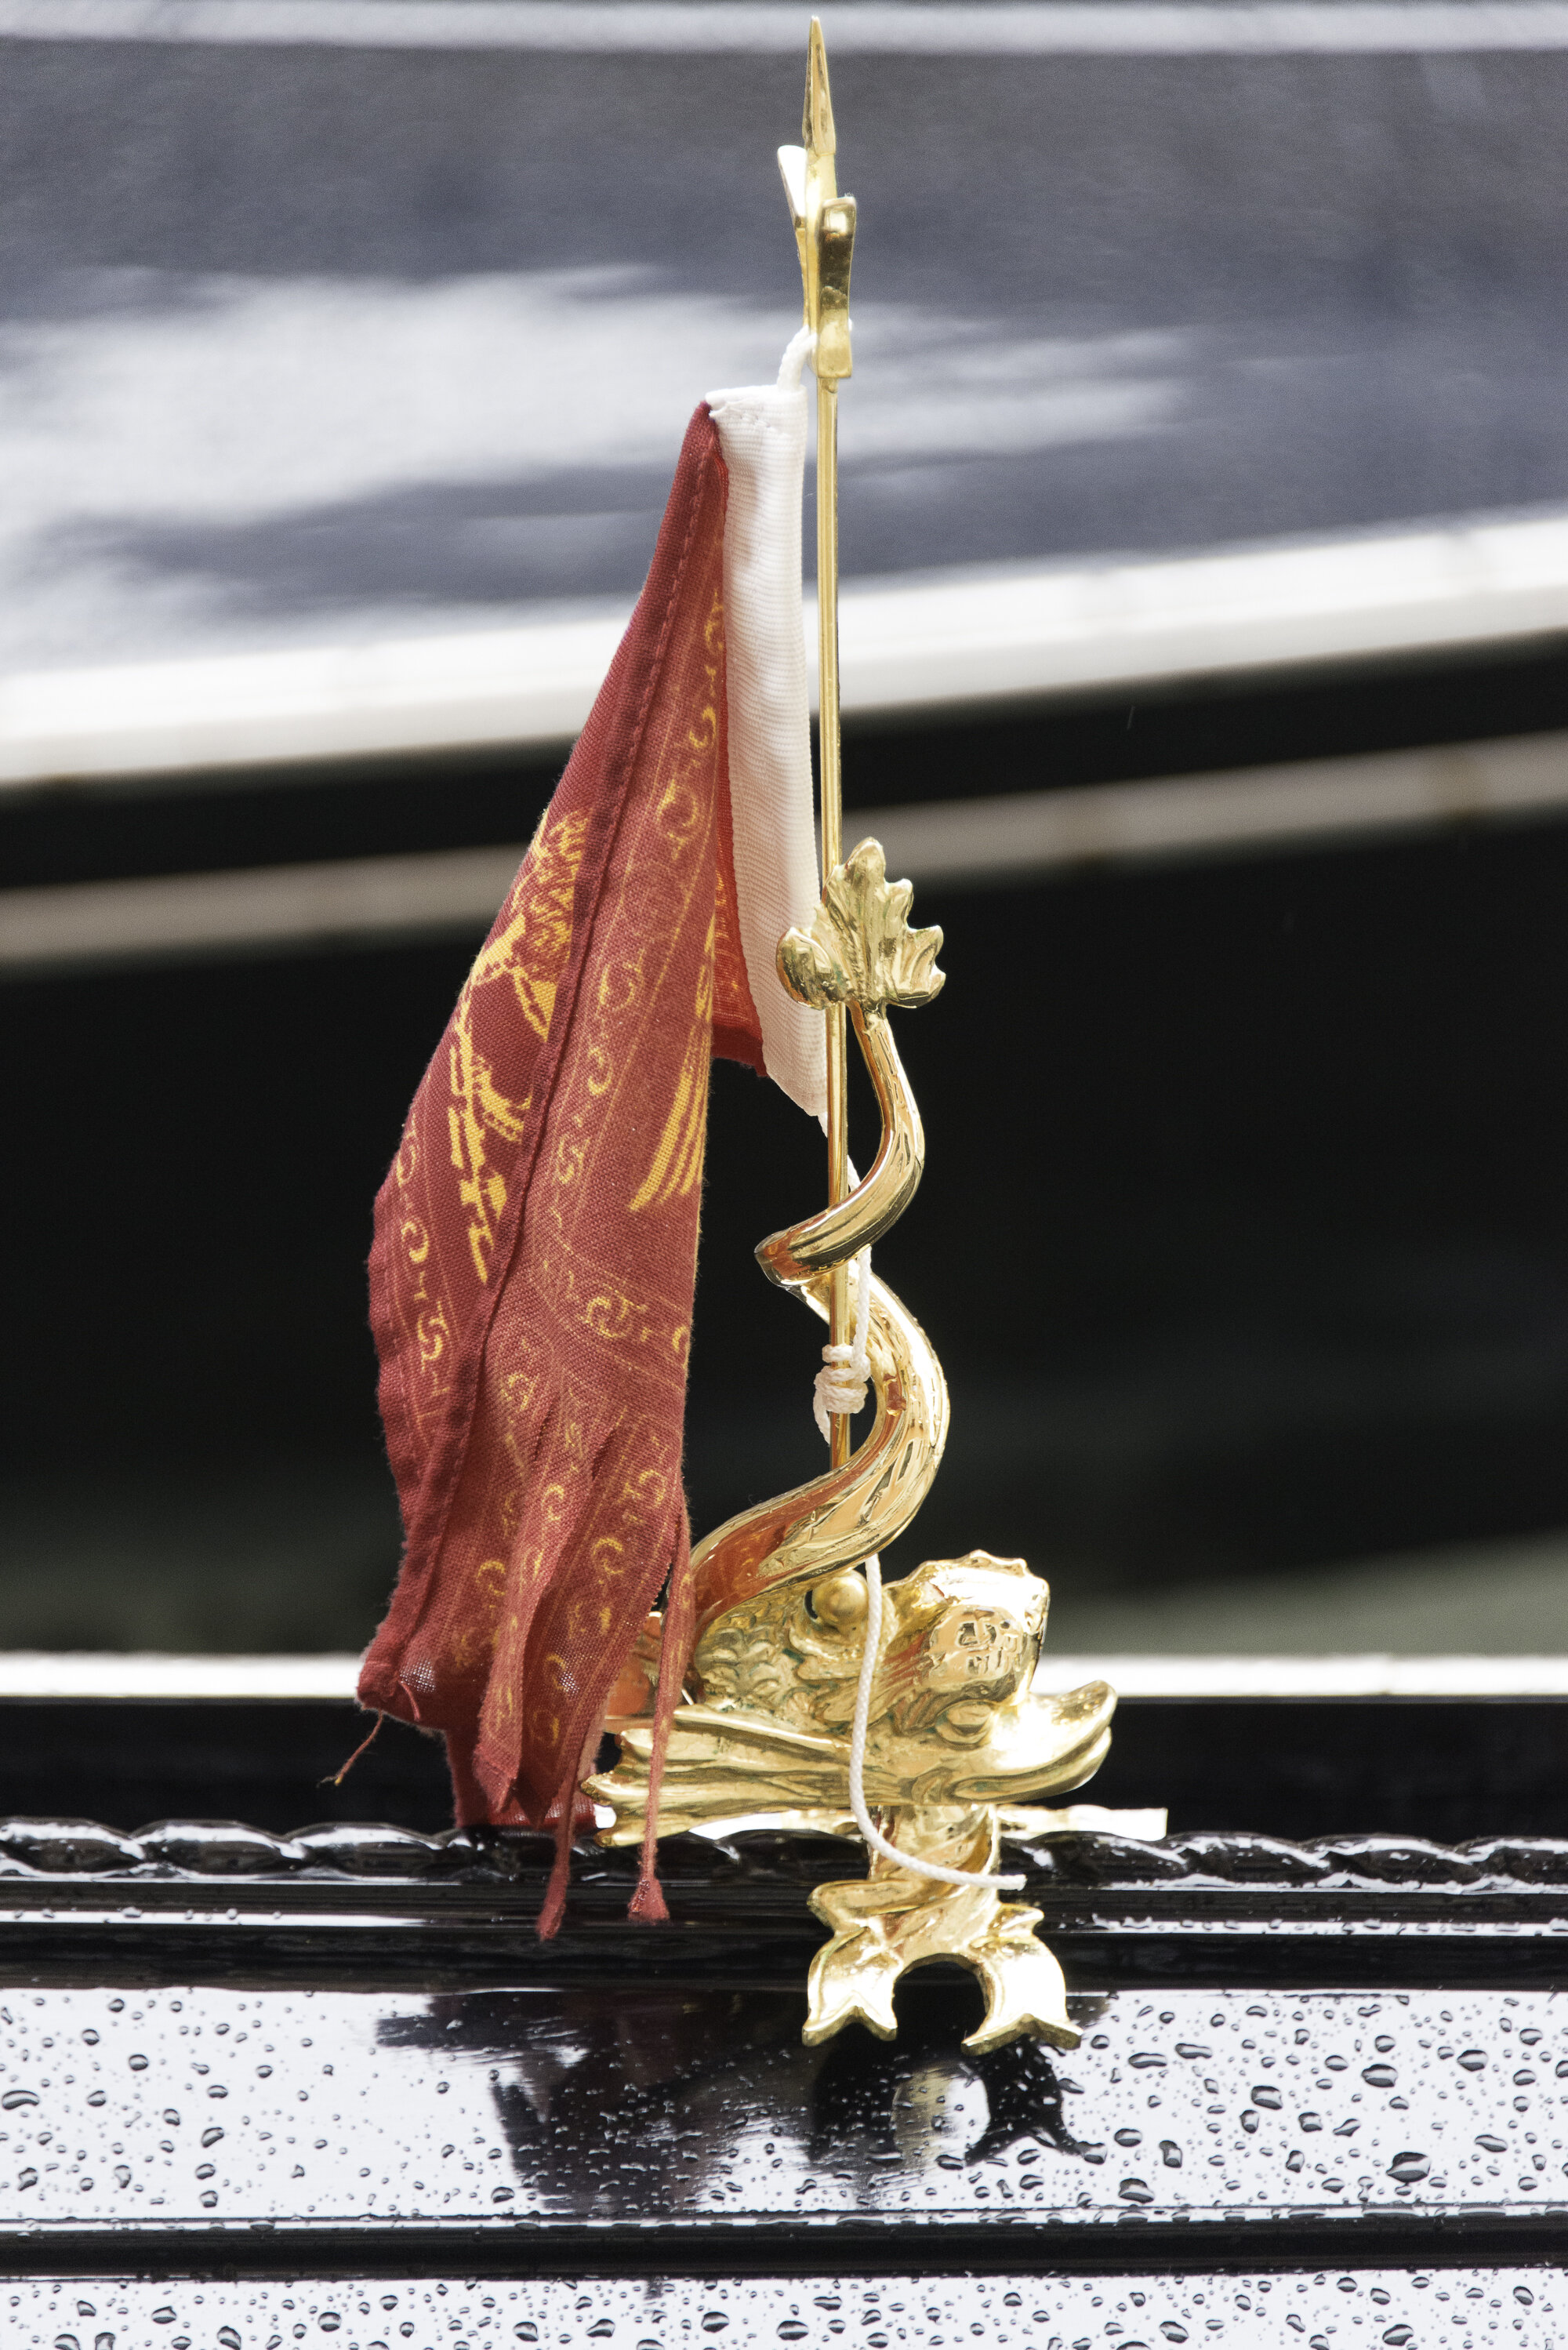
Did you notice that bright, distracting bow hanging from something or other up and to the right of the watergate? That’s got to go…so it will. And, the arched watergate…I’d like to warm it up a bit with a tad more light coming from inside…and maybe give the grill work a bit of polish. Here’s the final image.

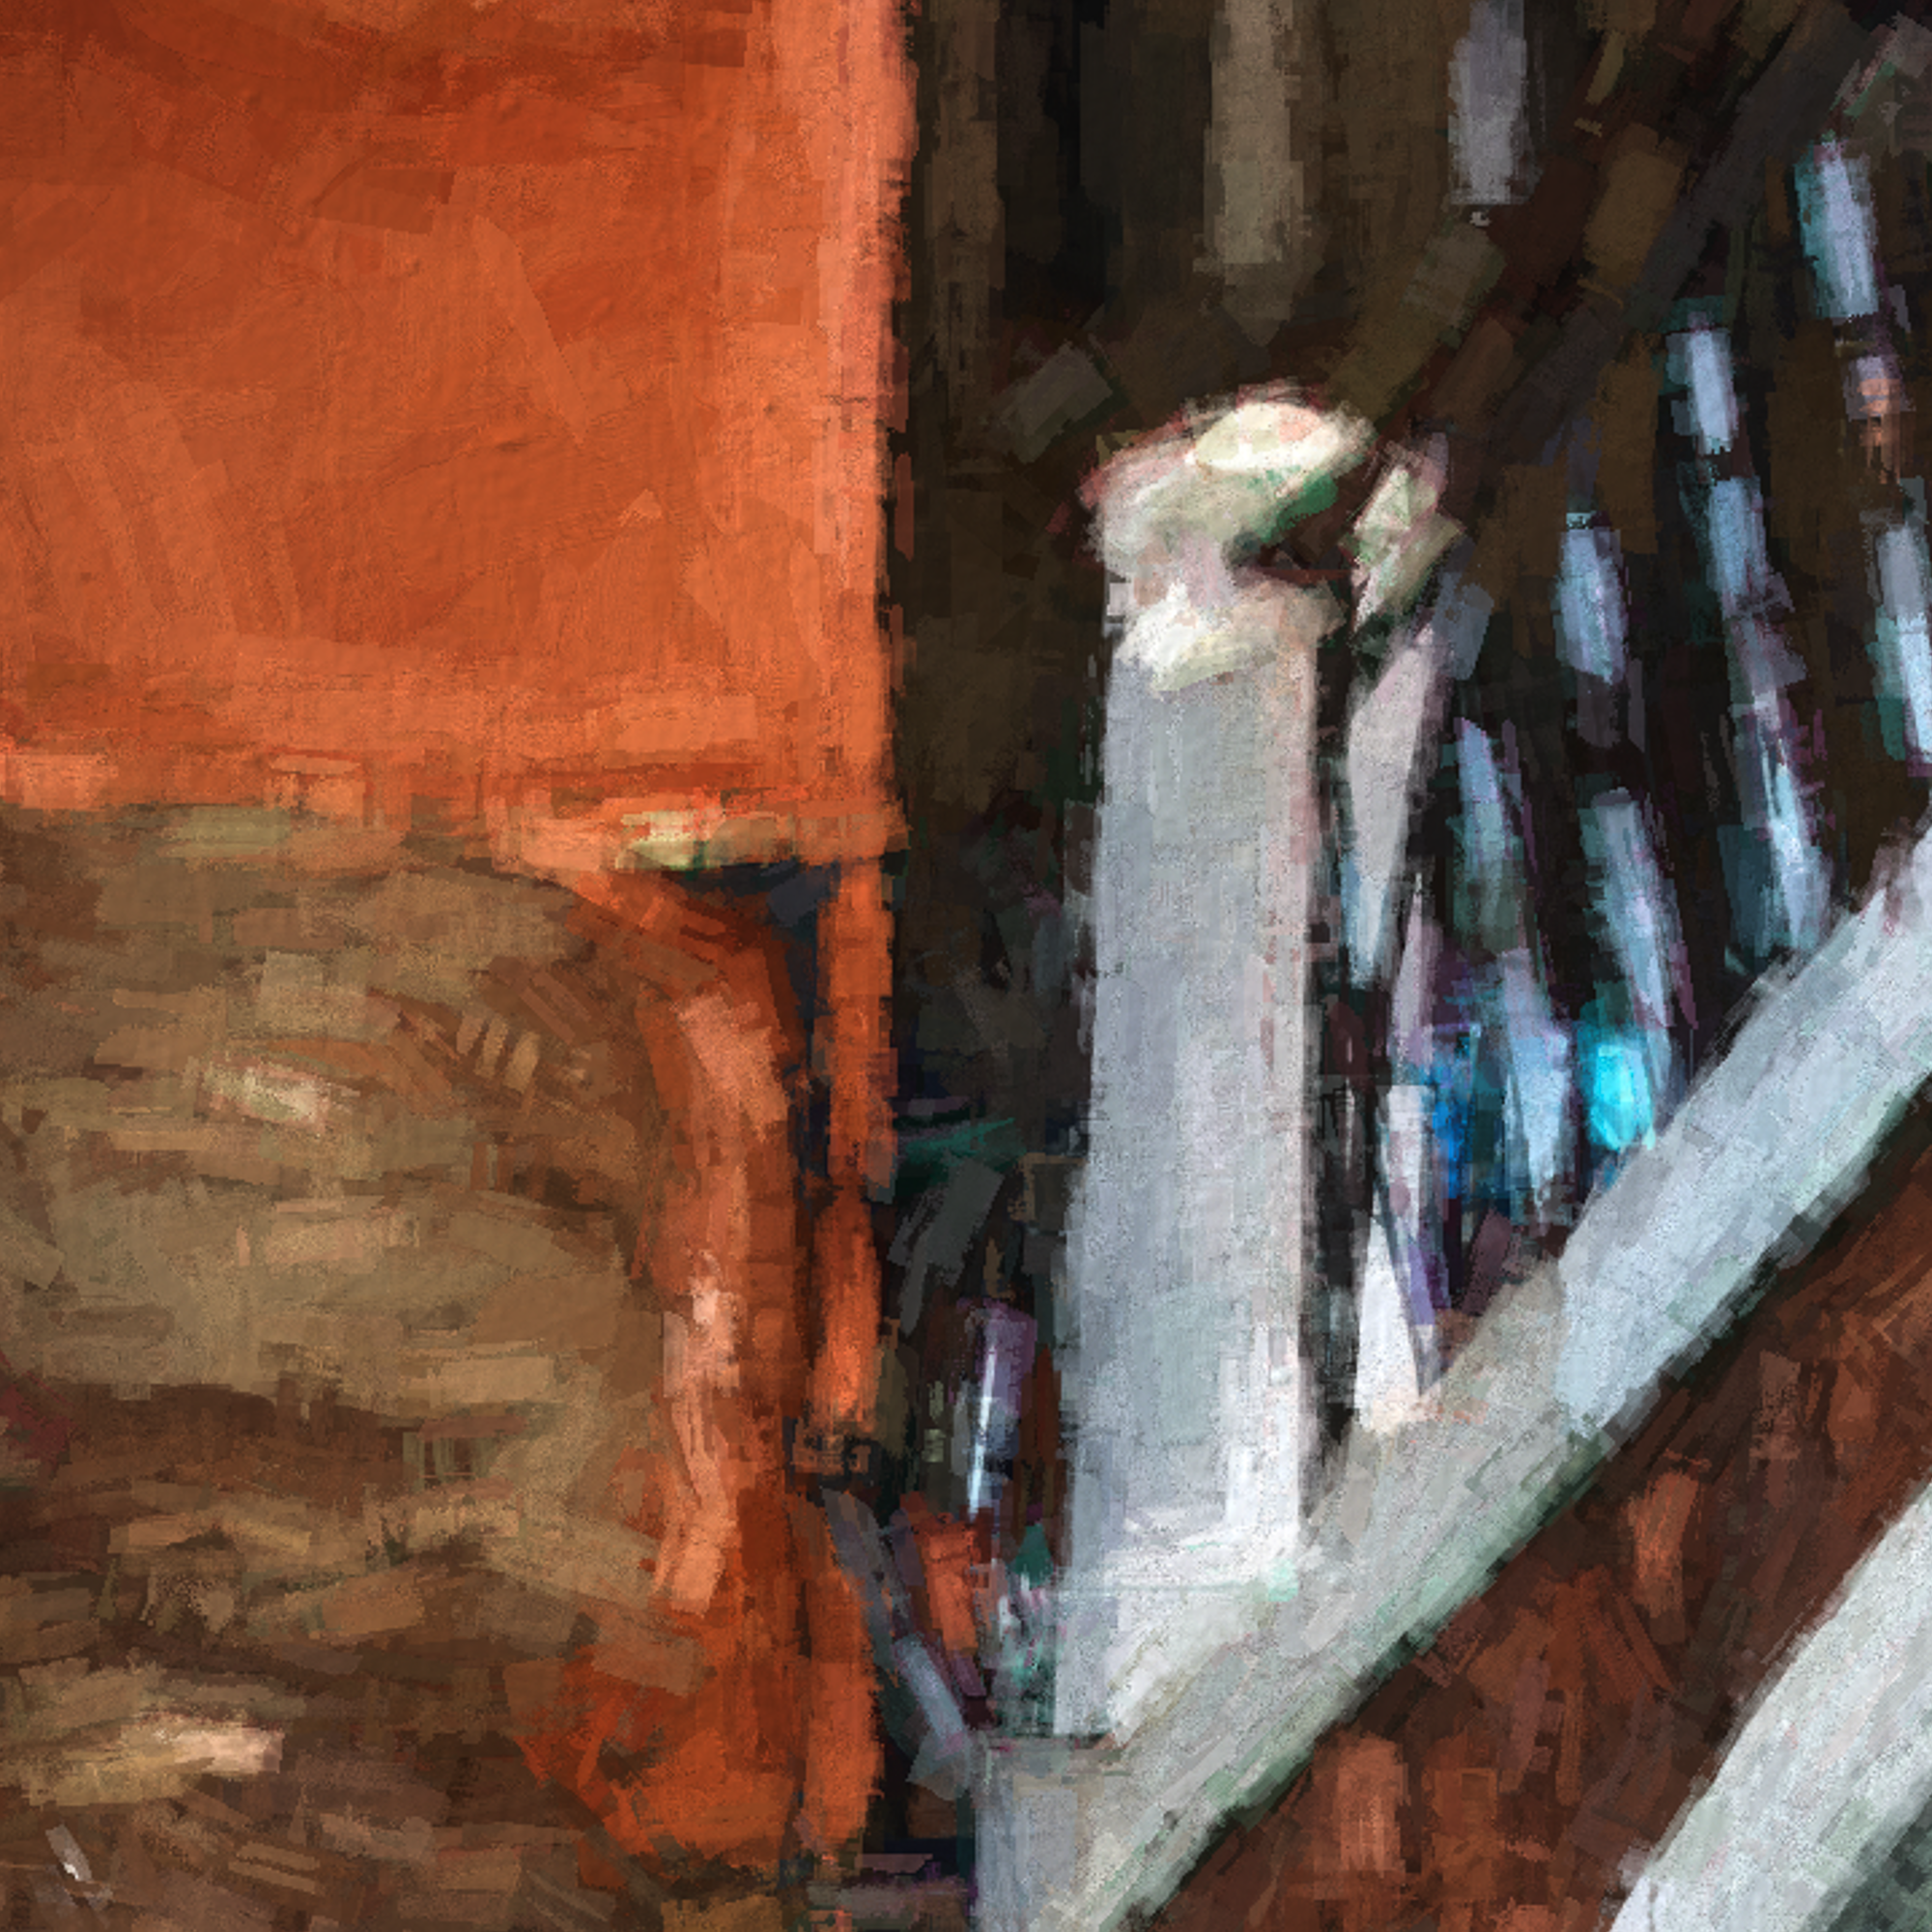
I do enjoy digitally adding a painting effect to some of my photos. So, I’ll do that for Head On!

I know, the painting is not all that obvious viewing it from this ‘distance’. Here are some crops of the photo, giving you a better idea of the brush work that I’ve employed. Clicking on the images will give you are larger view.

Back to the final image above the painted one…it’s still not moody enough for me…it’s a bit too bright for the impending drama that I want to create. It’s time to give it a bit more sinister mood.

So now, in the dark of night, and with drama and disaster impending, and after eight years, I give you ‘Head On!’.


DISCLAIMER: No one was injured in the production of this photo.

Glad to get THAT out of the way…darned lawyers.

I hope that you enjoyed seeing behind the digital curtain to see how numerous images can be composited to create a final, fine art photo.

Ciao for now,

Steve

Don’t miss out on future Italy, Our Italy articles by subscribing here

The Gondola

Quando sono solo, sogno Venezia. And when I’m having those dreams of Venice, I will assuredly picture ‘the gondola’. The gondola is the iconic symbol of Venice…and its been that way for over 900 years.

What does a gondola look like? Let’s try this. Close your eyes and image a canoe. Go ahead, I’ll wait.

Ok, now…uh oh…your eyes are closed and you can’t read what I’m now writing to you. I’ll just have to wait until you’ve exhausted your dreamlike state.

Wait…

Wait…

[And while I’m waiting, I’m going to remember one of my all time favorite gondola photos that I took in Venice…but actually it is a composite of several photos, and you can see how I did it here.]

“Procession”

Wait…

Wait…

Welcome back, and sorry about that…I should have thought ahead about you having your eyes closed.

Now, completely erase from your mind that canoe image, because the only similarity to a gondola is that they both float (well, Ellen and I had a canoe issue where it didn’t float, but that’s a different story).

Here are some significant differences between a canoe and a gondola:

Squerarioli hand crafting a gondola in their squero (workshop)

  • A canoe is symmetrically straight, while a gondola is asymmetrically shaped like a banana.

  • A canoe is around 15-16 feet long and perhaps 35 inches wide, while a gondola is 35-feet-7-inches long and 55 inches wide.

  • Where a canoe is typically around 75 pounds, a gondola tips in at 1,545 pounds…yikes!

  • While you and your canoeing partner sit within the canoe and use paddles, the gondolier stands not within, but atop, and at the rear of the gondola, and uses a single oar.

  • Where standing up in a canoe is a recipe for tipping disaster, standing up in a gondola is not, and is the de facto way to ride in a gondola used as a traghetto, or ferry, to get across the Grand Canal where no bridge is close by.

  • And, where sitting side-by-side in a canoe (and even getting into that position without tumping over) doesn’t allow one to relax during that endeavor, there is nothing more relaxing than sitting by your loved one in a gondola as you enjoy your romantic gondola ride.

So, let’s learn more about the gondole (plural of ‘gondola’) of Venice.


History

As I mentioned above, the gondola has been associated with Venice for around 900 years.

Illustration of early-day gondola by Jost Amman

Today’s gondola is of shiny black lacquer and each is mostly identical, except for the custom-designed lounging area and some of the gondolier’s personally-applied decoration.

In days gone by, some gondole had canopies covering them, where romantic rendezvouses and political intrigue took place.

As there were no motorized vaporetti nor water taxis to carry one about, there were around 10,000 gondole bumping into each other along the Grand (and lesser) Canal.

Some were so ostentatious and of such a troublesome size that the Venetian government put its foot down and decreed that all should be black and of similar size.

Besides their size and color, there is another historical element on the prow of each gondola. This element is the ferro (or ‘iron’). The design of the ferro takes into account many aspects of the Venetian lagoon. I’ll explain the significance of the ferro shortly.

Now, to construction of the gondola.


Construction

Here is a short quiz for you - how many of the following woods are used in the construction of a gondola?

  • oak

  • fir

  • cherry

  • larch

  • walnut

  • linden

  • mahogany

  • elm

Of the 8 woods listed above…wait for it…all 8 are used in the construction of a gondola.

Here are some other facts to consider as, in the future, you close your eyes to picture a gondola, instead of a canoe.

Recently deceased master squerariolo Roberto Tramontin ready to launch a newly completed gondola

How many pieces of wood make up a gondola? 280…each cut to specific, traditional dimensions and assembled in a precise order.

How does the gondola get its banana shape? One side is 10 inches longer than the other.

Why the banana shape? To counteract the weight of the gondolier and the torque created by the gondolier using the single oar on the starboard side of the boat.

How many gondoliers are there? About 450.

Giorgia Boacolo - first woman gondolier

Are all gondoliers men? If you had asked just a few years ago, the answer would have been ‘yes’, and that’s the way it was for 900 years. Generally, the father passed the license down to the son. But recently, 23-year-old Giorgia Boacolo made it through the 400 hour training coarse to become the first woman gondolier. You go, girl!

How many gondola ‘sheds’ or ‘squeri’ or workshops are there? There are two, though the recent death of Roberto Tramontin has placed the Squero Tramontin e Figli in jeopardy.

How many days does it take to make a single gondola? It takes 45 days with 5 squerarioli (carpenters) working full time.

How much does a gondola cost? On average, a gondola costs $61,000.


The Forcula

Without the forcula, there is no gondola…it’s as simple as that.

The forcula and its named parts

Many say that the forcula looks a bit like a hand, as you can see in this photo of a forcula. Maybe it looks a bit like a hand…maybe not a big bit like a hand, but maybe an itty bitty bit like a hand. Actually, I don’t see a hand at all, just kind of a wooden twisty thing.

It is sculpted from a single piece of walnut that has been aged up to 3 years. And when I say sculpted, that’s exactly how it is produced. Each forcula is designed specifically for an individual gondolier, based on their height and rowing style.

The forcula’s gamba (leg) is inserted into a hole in the gondola's deck.

And being a work of sculpted art, the forcula is detached from the gondola each evening…it is a very personal thing.

After retirement, a gondolier’s forcula can be found on their home’s mantel, as a testament to their career.


In this photo showing Debbie and Scott during a pre-dinner romantic gondola ride, you can see how the gondolier applies his oar to the forcula.

There is no connection between the oar and the forcula, as the gondolier must be able to place the oar on various parts of the forcula to achieve forward, backward, side-to-side and turning locomotion.

It’s really amazing to watch these masters shuck and jive through tiny canals, often putting a foot up on a wall to push off to help steer through difficult situations.


The Ferro

Representative parts of the gondola’s ferro

The ferro, or ‘iron’ is located on the prow of the gondola. For those of you who are not familiar with the term, the prow is the front of a boat.

Note the six forward facing prongs. These represent the six sestieri, or districts, of Venice. The rear-facing prong represents the island of Giudecca.

There is often, but not always, 3 little shrimp looking thingies interspersed between the prongs. These represent the main islands associated with Venice, which are Murano, Burano and Torcello.

The top is representative of a Doge’s cap. This is the cap of office that the Doge, or president-like-guy of the Venetian empire, would wear.

The photo also shows some of the other Venetian iconic symbols that have been woven into the ferro’s design.


Decorative Elements

Here you can see a number of embellishments that the gondoliers are allowed to personalize. Many of the accoutrement feature a golden seahorse-styled sculpture.


A Squero - Or Gondola Workshop

These photos are of the Squero di San Trovaso, which we glimpsed during our quiet Venetian walk just recently.


The Gondolier’s Platform

Notice in these two photos how the gondoliers stands near the rear of the gondola, and they are somewhat cantilevered above the water.


Singing Gondoliers

Do you want a singing gondolier? They don’t do that. But, you can arrange ahead of time for a singer to join you on your gondola ride…usually accompanied by an accordionist. Plan to pay a good bit more.

But hey, avoid the cost and do your own singing. Here you can see Ellen, Craig and Leslie singing their hearts out as we glide along the Grand Canal. As we couldn’t think of the words to any particular song that we all knew (one time we had to resort to ‘White Christmas’!), the iPhone comes in handy.


Parting Shots

I’ll leave you with some photos from some of our favorite gondola rides.


That’s it for today folks. I hope that you’ve enjoyed seeing how gondole are made and used…and how they are so much different from canoes.

And, as you take your own romantic gondola ride, look back at your gondolier…it just may be me oaring away behind you, as together, we ply the canals of Venice.

For a small tip, I’ll sing for you…and then for a bit larger tip, I’ll stop singing! See how that works?


Serendipity, Stakeouts & Targeting - Part 1

You’ve taken photos – we all have. Think about your most satisfying images and how they were captured. By ‘how’, I mean how you set about capturing that image, and whether you set out to capture that image at all.

There are typically three ways that we go about the capture of our photographic images.

Serendipity: This is the fortuitous circumstance where things seem to just magically work out for you when you have your camera. Call it chance, fate, providence, coincidence, luck or just good fortune; it was your destiny to get that shot.  A rainbow appears but for a few moments, and you are there to capture it.  The newborn yawns for the first time and you say ‘hold it!’ as you click your camera shutter. Your 5-year-old catches an 18” rainbow trout and you pull out your camera for that once-in-a-lifetime event. Many of our photos are caught serendipitously, but in fine-art photography, serendipity is rare.

A Stakeout:  This involves surveillance, observation and just hanging out at a particular spot waiting for just the right moment to come along.  Whether it’s a bird alighting on a pre-focused branch, stars aligning with the moon, your child screaming on the slide just before they reach the bottom, a salmon jumping upstream right into the mouth of an awaiting bear (he, too was on a stakeout), getting a wave frozen in time as it crashed against the rocks, two gondole arriving at precisely the right time, or whatever – it’s the situation where you need things to be just perfectly aligned for the shot to work. One must set up a vigil and wait, wait, wait for it…

Targeting: I will define targeting as planning and then going after the image, doing whatever it takes to get the image that was envisioned. You have a goal in mind, an objective, and an intention to capture a certain final image. All wedding photographers work from a shot list that targets their trademark shots. The portrait photographer targets a certain look as they have you drop your right shoulder, raise your chin and look to the left to capture that ‘un-posed’ portrait. And targeting can involve having several photos on your shot list that will later be combined into that one final image that you were targeting. When we travel to Italy, I often have a shot list, and several final images in mind, as I go about photographing - and I have to check my shot list often. 

Combinations:  Often, getting the targeted image that you envision requires a stakeout, so a combination is often needed. I’ve taken photos where I envisioned the final image, and then I had to set up a vigil to accomplish the final photograph.

Here are a couple of examples of what I mean by these terms.

The photo below was a result of a Stakeout and Targeting

I knew exactly what I wanted the finished photo to look like even before leaving home. I targeted the location that I knew was integral to the shot (in this case the Rialto Bridge in Venice).  And, I knew that I was going to have to be staked-out for about an hour to accomplish what I had envisioned (I took over 80 photos in an hour’s time of boats on the Grand Canal, all from the same location and perspective). Certain boats from each photo were combined into a image that was selected by National Geographic senior editor Kurt Mutchler for a gallery showing called 'The Art of Travel Photography'.

So, that image was a combination of targeting and then a stakeout.


You be the Judge

For this next image, you decide how the photo below was accomplished. This image, titled ‘Procession’ was part of a four-page portfolio of my Venice images published in ‘Black & White Magazine’ in 2013.

Was this image a result of:

1.       A stakeout, where I waited and waited at this location until the two gondole were just perfectly aligned in a ‘Procession’?

2.       Serendipity, where I happened upon a location and without having to wait hardly at all, one gondola passed by just as another was coming down the canal to create ‘Procession’? Perfect timing! What a surprise! I love it when that happens! Yes!

3.       Targeting, where my goal was to get an image that I envisioned, and which I would call ‘Procession’, and then I went out to make it happen – whatever it took?

I’m now playing the music for the Final-Jeopardy question as you work on your answer - you have it in your head now, right? And I will keep playing it until next week's blog.

Feel free to put your answer in the Comments box below.


Ciao, for now!

Steve